How to Clean Exterior Windows
No matter how clean your house is, if your exterior windows are dirty, it can significantly impact the appearance of your entire house. Clean windows make a significant difference in the appearance of your office or home. It also offers marvellous features, such as receiving more natural light with a clear and beautiful view.
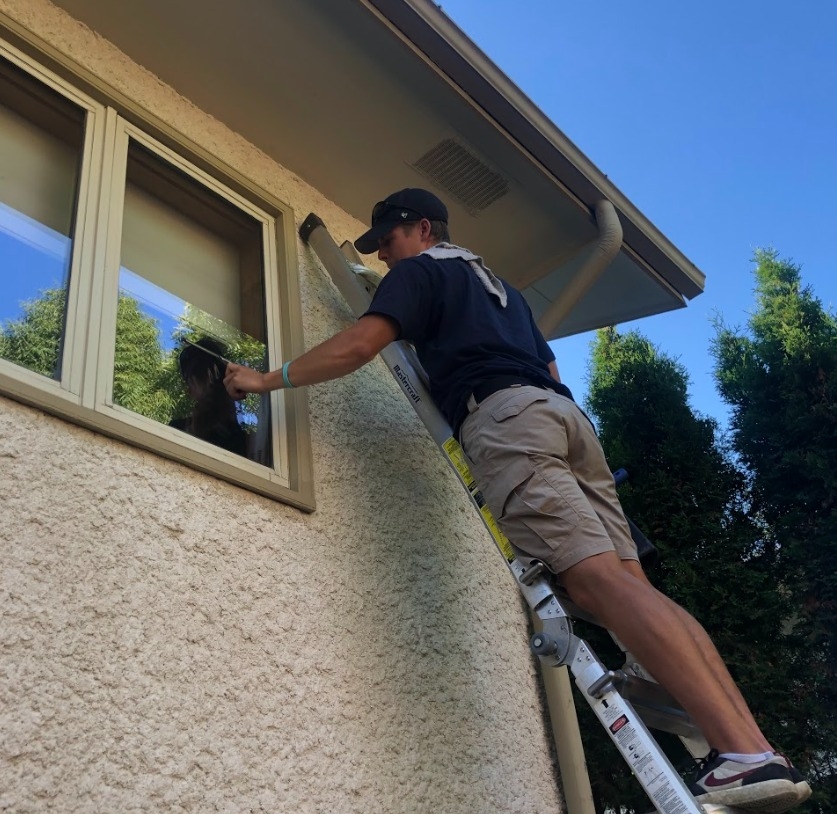
However, we understand your struggles with how hard cleaning outside windows can be. These exterior windows can be difficult to reach, as many of them are located on higher floors or in challenging areas. Therefore, it is also crucial to work with safety equipment to prevent mishaps and injuries.
If you are also looking for ways to clean your exterior windows, we have provided you with everything you need to enjoy beautiful views from a clear window.
Things to Have for Cleaning Exterior Windows
Before you start wondering about how and when to clean your windows, it is essential to schedule a day considering the weather situation. Select a calm and cloudy day to avoid panicking over the rain. Then, gather all the vital materials needed for the cleaning process.
A bucket: To hold water mixed with the cleaning solution.
A scrubber: For loosening dirt and grime from the glass surface.
A squeegee: To remove excess water and leave a streak-free finish.
Cleaning solution: A mixture of water and mild detergent, or a window cleaner, for effective results.
A ladder: For reaching higher surfaces safely.
An extension pole: It will allow you to clean windows that are out of arm's reach.
7 Steps to Clean Your Exterior Windows
If you are a beginner, cleaning your windows may seem overwhelming. However, don't worry; here are some easy steps to follow correctly.
Step 1: Prepare Your Windows
Use a soft brush or a dustpan brush to gently sweep away any cobwebs, dust, or loose debris from your window frames and glass. This prevents the formation of mud when water is added and stops tiny grit from scratching the glass during cleaning.
If you have window screens, you can also remove them. They can trap dirt, making it harder to clean the glass properly. You can clean the screens separately by placing them down and gently scrubbing them with a soft brush if they are extremely dirty. Let them dry thoroughly before putting them in place again.
Step 2: Mix Your Cleaning Solution
Fill your bucket with clean, lukewarm water. Add a few drops of dish soap, or you can use dishwashing liquid. Don't add too much, as you want just enough to break down dirt. So, a couple of teaspoons of powder soap for a standard bucket is usually plenty.
Moreover, some people prefer to add a small amount of white vinegar to their water and soap mixture. Vinegar is excellent for cutting through grime and leaving a streak-free finish, especially on hard water spots. Approximately a quarter cup of water is usually enough for a bucket. The vinegar smell disappears once the windows dry.

Step 3: Wet Your Windows
This step helps to loosen stubborn dirt and grime before you start scrubbing. You can use your garden hose to give each window a good rinse from top to bottom. This will wash away much of the surface dirt and soften any stuck-on filth, such as dried mud or bird droppings.
If you don't have a hose, use a bucket of plain water and a sponge to wet the windows thoroughly. This pre-rinse is essential for preventing scratching from abrasive dirt.
Step 4: Wash the Windows
Now, it's time to apply your cleaning solution. You need to dip your cleaning sponge into a cleaning solution, making sure it's well-soaked. Wring out any excess drips to avoid unnecessary mess.
Starting from the top of the window and working your way down, generously apply the cleaning solution to the glass. Ensure that you cover the entire window with this cleaning solution. Don't be afraid to give it a good scrub to remove any stubborn dirt, bird droppings, or grime. Moreover, pay extra attention to corners and edges, where dirt tends to accumulate. If you have particularly grimy spots, let the solution sit for a minute or two to loosen the dirt before scrubbing again.
Step 5: Squeegee for Streak-Free Shine
You may need a bit of practice for this step, but we are pretty sure that you will soon master it. Before each stroke, wipe your squeegee blade with a clean, lint-free cloth or a dry part of your microfibre cloth. A clean blade is crucial for avoiding streaks. Any dirt or residue on the blade will just spread it around.
Start at the Top: Place the squeegee blade firmly against the glass, ensuring it is firmly in place on the window. You can either start with a straight pull from top to bottom or use a fanning technique.
Overlap Your Strokes (Straight Pull): If you are doing straight pulls, start at the top of the window. Pull the squeegee down in a straight, steady motion. At the end of the first stroke, lift the squeegee, reposition it for the next stroke, and overlap the previous stroke by about an inch or two. This will ensure that no spots are missed.
Hold the Squeegee Correctly: Hold the squeegee at a slight angle, around 45 degrees, to allow the water to run off the blade cleanly. This prevents water from running back under the blade and leaving streaks on the surface.
Wipe After Each Stroke: After each full stroke, wipe the squeegee blade clean with your microfibre cloth. This removes the dirty water and prevents it from being transferred back onto the glass.
Edges and Corners: For the very edges and corners where the squeegee can't reach, try using a clean, dry microfibre cloth or a scrunched-up piece of old newspaper to wipe away any remaining water.
Step 6: Rinse and Polish
If you want an extra touch of sparkle, as everyone appreciates clean windows, a final rinse can be beneficial. If you are using just soap and water, you can give the windows a quick rinse with the hose after squeegeeing, letting the water run off naturally. This helps to remove any soap residue that might cause streaking as it dries.
Once the windows are dry, you can use a clean, dry microfibre cloth or a piece of crumpled newspaper to wipe the glass. This helps remove any lingering streaks or water spots, leaving a brilliant, sparkling shine.
Step 7: Clean Frames and Sills
A clean window in a dirty frame still looks a bit grubby. Use a separate, clean, damp cloth to wipe down your window frames and sills. This removes any drips or dirt that might have accumulated during the cleaning process.
Wiping down your windows using a damp cloth makes them look clean and enhances the overall appearance.
Conclusion
Cleaning your exterior windows may seem like a time-consuming and challenging task, but with the right tools and a proper cleaning technique, it's an entirely manageable and rewarding chore. You will get a real sense of satisfaction after cleaning your exterior windows, especially when you step back and admire your sparkling, streak-free windows. Clean windows will allow more natural light to flood into your home while offering you a clearer view of the world outside.
By following the simple steps we have penned down in this blog post for you, from gathering your cleaning equipment to mastering the squeegee technique, you will not only enhance the appearance of your home or office but also contribute to the longevity of your windows by removing damaging dirt and mould. However, if you find your windows extremely dirty and don't have enough time to clean them right away, don't worry at all.
You can contact expert window cleaners from Neighbours Windows and get our sparkly window cleaning service!